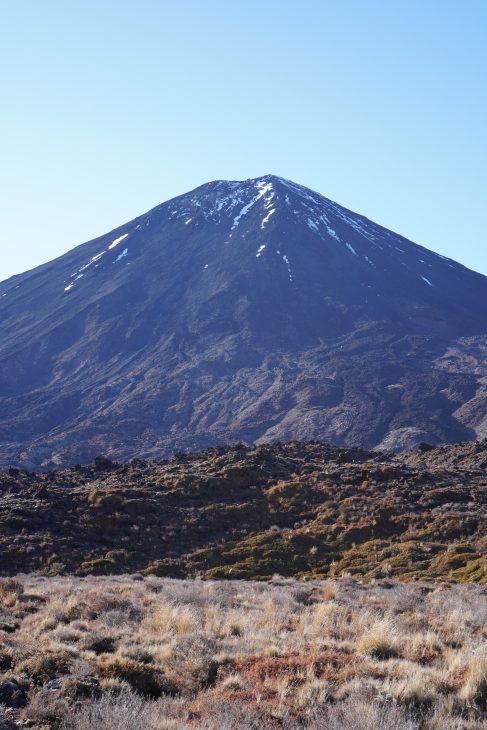
Tongariro Crossing is one of the most famous hikes in New Zealand, and a hike I was really eager to experience as well. I totally understand why it’s such a popular trek, because wow, it’s an incredible nature experience! The landscape is absolutely wild!
I did the hike at the beginning of October, and I was really lucky that I had some flexibility with the date, because during the week I was in the area, there was only one day with good weather—the rest of the week, the hike wasn’t possible.
National Park
I ended up staying for four nights in the town of National Park, which is easy to get to the start of the Tongariro Crossing from. It’s also only about 10 minutes from Whakapapa Village, which has many great hiking routes.
National Park is a small town with a small supermarket and a few restaurants. Most of the time while I was there, the weather was bad; it was very foggy, and the mountains weren’t visible, which was pretty unfortunate. However, I feel incredibly lucky with the one day that was full of sunshine and clear skies, the day I hiked the Tongariro Crossing.
Despite the bad weather on several of the days, I had some cozy days in the town, relaxing with movies, knitting, and coffee from a small coffee cart. One day, I was lucky to have a great day with shorter hikes around Whakapapa Village, which is definitely worth a visit if you’re waiting for good weather to do the Tongariro Crossing.
What does it cost and how do you get there?
The hike itself is free, but if you don’t have your own car, there’s a cost to take a shuttle bus there and back. The great thing about the shuttle bus is that the start and end points are not the same, so if you want to avoid walking the same route back down, it’s great to book a shuttle bus. I booked a shuttle bus from National Park to the start of the hike at Mangatepōpō Road. In the afternoon, there were three pickup points on the other side at Ketetahi Road. I paid a total of 60 NZD for the round trip to National Park.
It’s also possible to book a guided tour, but they’re quite expensive. I met a girl who had hiked it on her own, and after her explanation, I felt pretty convinced that it was perfectly fine to go solo.
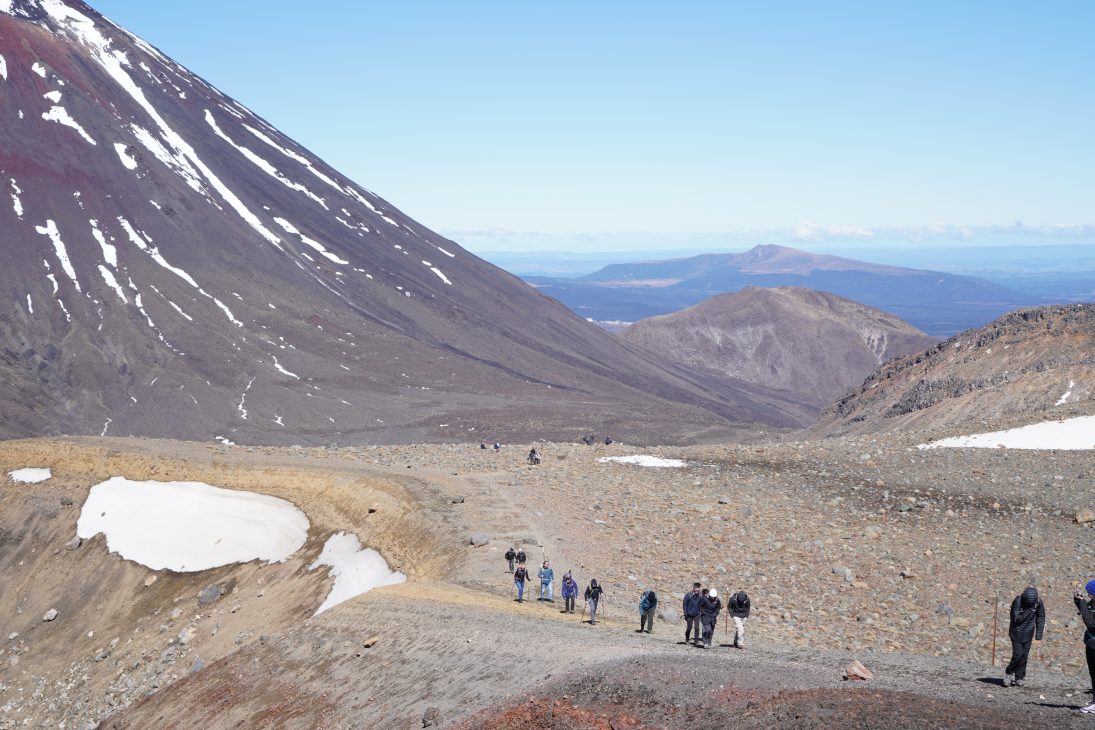
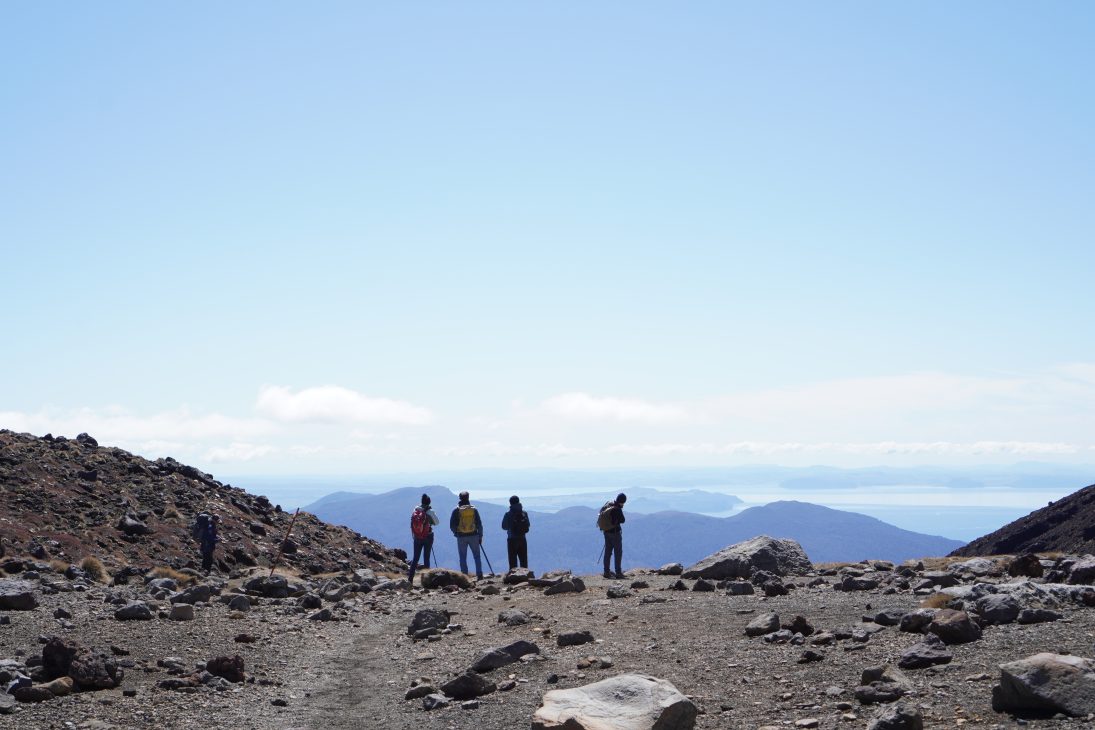
I was really happy I chose to go alone. It was nice to be able to take everything at my own pace. There were quite a few people on the day I went, probably because everyone had been waiting for this one sunny day, so it felt a little stressful at first. Luckily, we spaced out more throughout the day.
Crazy nature
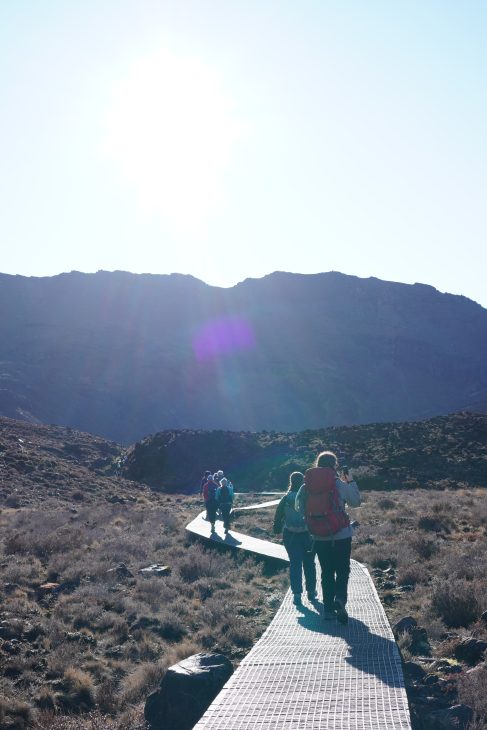
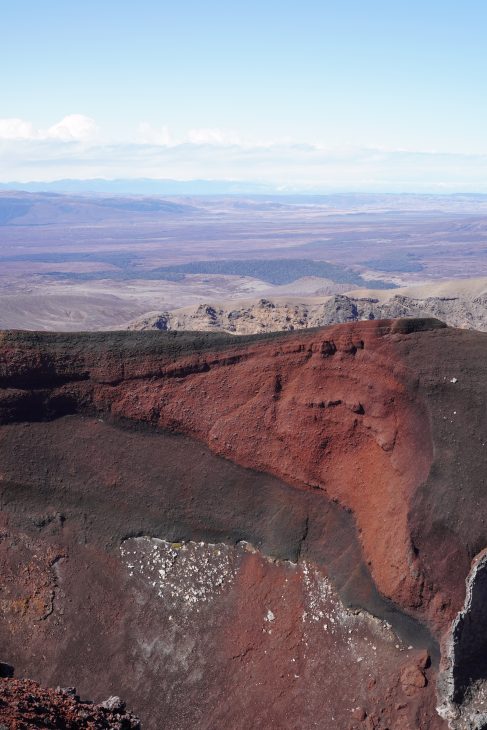
The hike itself was so beautiful! I felt it was stunning nearly the entire way, and we walked through varied nature and terrain. In the beginning, there were so many stairs, and it was tough! Luckily, there were beautiful views, so taking a break here and there felt totally okay.
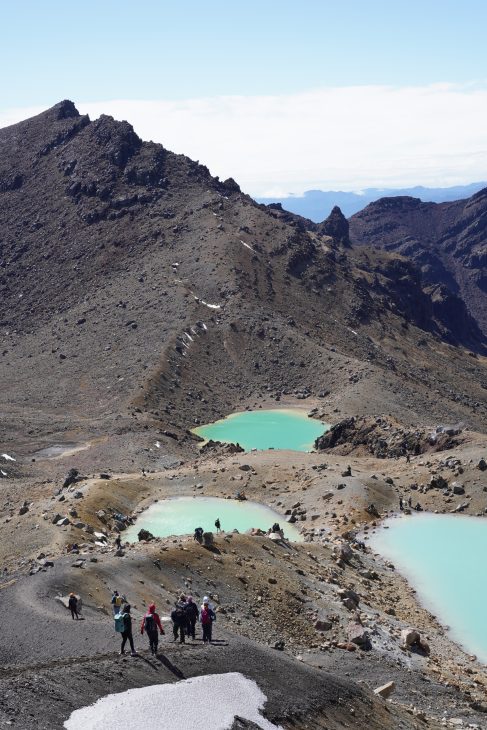
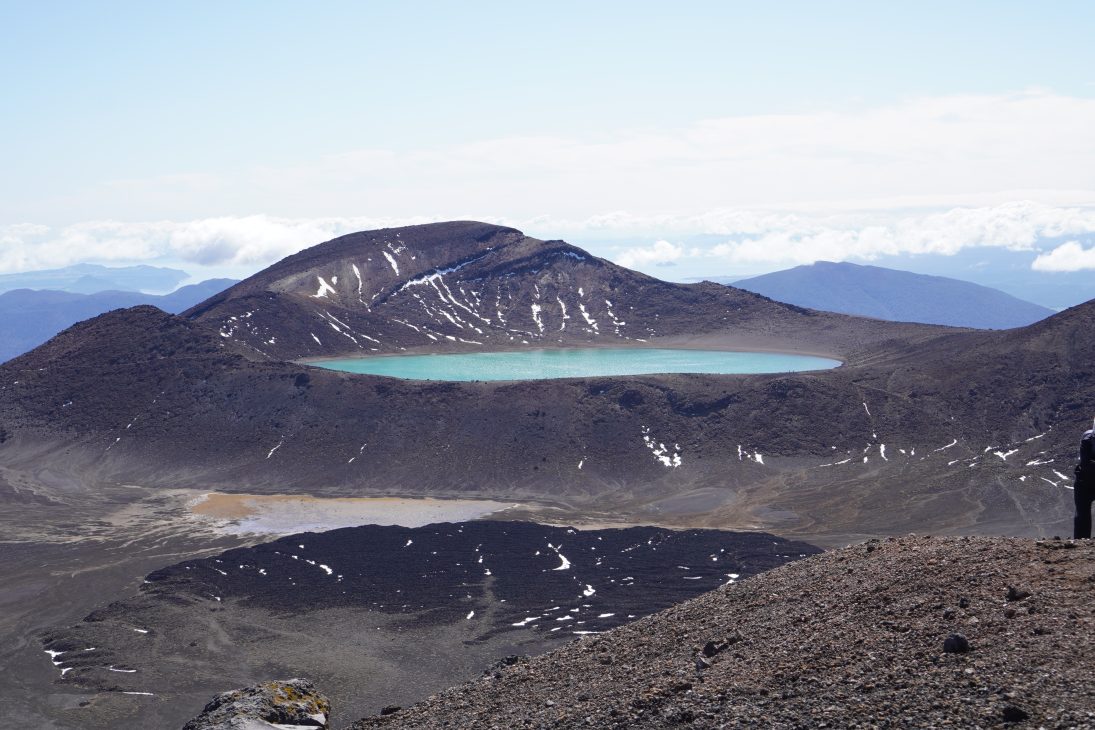
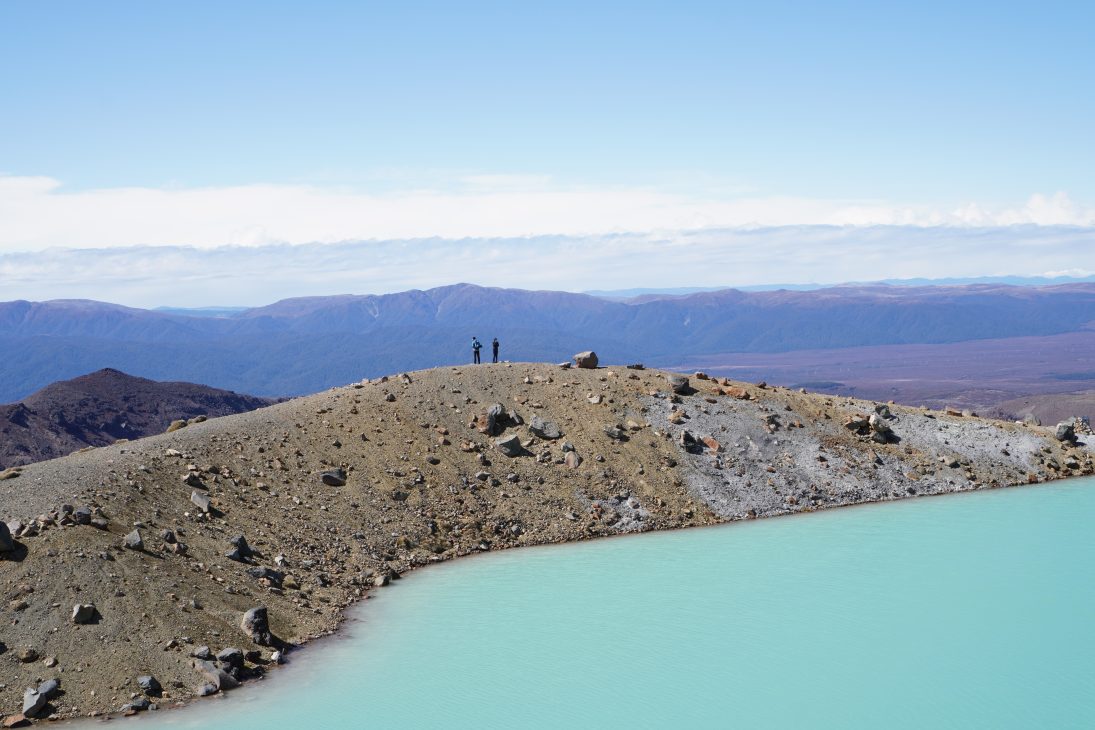
At the top, there was the coolest view of mountains, volcanoes, and turquoise-blue lakes. It was an incredible sight. I spent some time in the area, fascinated by the many colors. So beautiful!
My packing list for the hike
- Daypack, 20 liters
- Sunglasses
- Camera
- Packed lunch and snacks
- Water
- Mobile phone
What I wore
- Long-sleeved merino wool shirt
- Fleece jacket
- Down jacket (the down jacket came on and off a few times, but it was pretty cold and windy at the top, even with the sun)
- Zip-off pants
- Hiking boots
- Wool socks
- Headband
- Cap
- Thin gloves (I was really glad I had these)
Check out Kepler Track, Packing list for three months in New Zealand and Temple Bassin Track, Arthur’s Pass


